Tag: design

Logoist 5 – Easy to Use but Powerful Graphic Design Application

by Marcel Dufresne

May 10, 2024

     There are many graphic design applications available to buy. Choosing the right one can be a challenging task. If you are like me, you would want one with a great deal of functionality but still be easy to learn and use. The content of a built-in graphics library is also an important component. Logoist might be the one you are looking for. The name appears to imply that this application is mainly for creating logos but you would be wrong. Logoist offers everything you’ll need to bring any creative idea to life. It can be used by users of all levels, from novice to professional. With just a few clicks, you will have the makings of a brand-new graphic on your screen. With a few more tweaks, you will have a work of art that anyone would be proud of. Logoist is as complete a graphics program as you can find. It comes with over 3,000 clip art images so that you can start your project as soon as you open the application. Read on as I describe what it can do. 

New Document

     When you first open Logoist, you are presented with a new document window. The main window contains numerous document size suggestions. Choose from tall or wide to preset sizes for  Facebook or Twitter. There is a ‘New Document’ button at the bottom of the screen that immediately gives you a blank artboard to fill. If your graphics project is more specific, you can scan the left-hand column. Here you find preset templates for logos, business cards, greeting cards and more. I will return to these later.

Photo Presets

     The New Document artboard is the starting point for most projects. The left-hand column provides all the necessary tools to create a graphic from scratch. At the top is the text or text box option. Shapes, lines, and free-drawing paths are next. The LiveShape option lets you draw freehand shapes in Logoist. It converts your drawing into paths and it automatically identifies how shapes need to be handled. It will snap your drawing into a perfect shape, and you can also adjust your drawing tools or adjust the shape of your drawings as desired. If this is too much trouble for you, then check out the clipart library for some templates. There are many more choices available here. Play around with them and become familiar with the power that is at your fingertips. I was able to create a birthday card for my grandson in a few minutes.

     Using the 1-2-3 Logo! choice from the main window, you can quickly design stunning logos. Enter your name, initials, or a slogan and Logoist will present you with dozens of logo suggestions which can be customized as you wish. For example, you could replace letters with symbols or typographic effects and select a suitable colour scheme. Then you can use the editor and Logoist’s comprehensive range of tools to further refine the suggested logo.

     The last choice on the main window is “Vectorize”. With this button, you can convert graphics, such as JPG or TIF files, into vector graphics and then open them in Logoist for editing. This feature generates resizable and editable paths from a bitmap or raster graphics image, which can then be enlarged, downsized or modified regarding their proportions without any loss in quality. The ‘enhance image’ feature enables you to optimize low-resolution images and remove artifacts, among other things.

Showcase

     The one choice from the main menu I was intrigued by was VectorAI. VectorAI will create vector artwork for you. Simply describe what you wish to see in the prompt window, hit generate, and you are presented with an AI version of your description. If you don’t like what you see, hit generate again. You can do this over and over again. This is how I generated the Spiderman graphic for the birthday card. In less than five minutes, I was able to create a new banner for my website. I used 1-2-3 to create the ‘Mause Review’ name. I then went to VectorAI and typed in ‘mouse reading a newspaper’. Putting the two together and I have a new banner. This process took over an hour a few years ago when I made my original banner. This amazing original drawing companion comes included with Logoist 5.1, and after you have downloaded the provided vector styles, no server connection is required. All the data stays on your device and is processed locally. Once you are happy with VectorAI’s suggestions, simply create a new Logoist project to further refine your results or export it as an image or vector file.

     For the more knowledgeable user, Logoist can rescue highly compressed images with lots of jpeg artifacts or image noise and automatically remove image errors. To do this, simply import an image, let the new Enhance feature work its magic and marvel at what Artificial Intelligence and Machine Learning are capable of in image processing.

     The one-time purchase of Logoist automatically includes Mac, iPhone, and iPad versions with full functionality. Get Logoist and then download the program for your other devices from the App Store for free. Logoist for iPad and iPhone offers you everything you are familiar with from the Mac version, but it has been specifically developed for the screen sizes of these devices. 

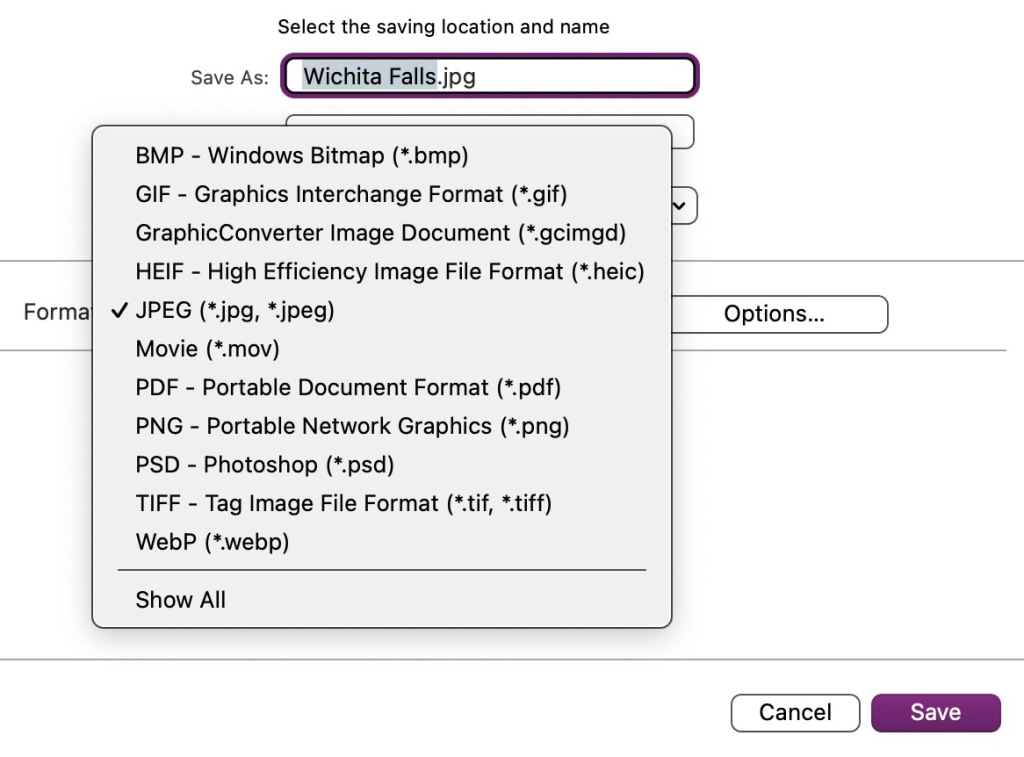
     Once you have finished editing your creation, you are ready to export your work. Logoist projects can be saved in a wide range of formats such as SVG, PNG, PSD, HEIF/HEIC and JPG. This makes it accessible for printing or other purposes. In addition, files can be shared using several options: “Messages”, “AirDrop”, “Notes” or “Add to ‘Photos'”. And of course, they can also be printed.

Business Card

     Logoist is the tool of choice for those looking to undertake a new project in the field of graphic design. From website graphics to logos, posters, invitation cards, business cards, and even complex illustrations, Logoist will create the works of art you are looking for. Logoist ensures an easy start for users without any prior experience with vector applications but puts powerful tools in the hands of professional users. There is an informative user manual as well as some video tutorials to help you to master the application. Click here to read more about all Logoist can do. Download a free version of it and try it out. The demo version is fully functional, but all pictures are watermarked. Check out the VectorAI component. If you are wanting to do a graphic arts project, then you can’t go wrong with Logoist 5.

GraphicConverter 12 – Manage Any Graphic File

by Marcel Dufresne

Mar 28, 2024

     Have you ever tried opening a picture sent to you only to find that the file was not compatible with your OS? This happens to me more often than I would like. When it does I let GraphicConverter come to the rescue. It can open almost any photo or picture file that might be on the Internet and convert it as its name implies, to whatever file type you need. 

     GraphicConverter is an all-purpose graphics application that is an ideal addition to any Apple computer. This fantastic program has been around for over twenty years. I can’t remember when I did not have a version of it on my computer. It is currently up to version 12 and it is still going strong. It has so many uses that a simple review cannot do it justice. I am far from a power user as far as graphics are concerned. I do very little work with graphics. But, whenever I did have a need, GraphicConverter was there to produce the result I was looking for. As the name implies it is, first of all, an application that will convert one graphic file form to another. At the same time, it also allows you to convert a graphic by editing it or even creating a new one from scratch. There are a lot of other apps that do some of what GraphicConverter does, but few are so all-encompassing. It is far easier to learn how to use one program than to learn how three or four others work. Once you understand the basic commands of GraphicConverter, you will find that it is quite straightforward to use. Depending on what you want to do, it can have a short learning curve or a long one. It has a comprehensive 500 page user manual which I quickly scanned, but all that it covers is way beyond my simple graphic needs. For this review, I would like to explain some of what I used GraphicConverter for and then expound on its many other traits. This way you can see how powerful it is, while being straightforward to implement.

     One of the first things I remember using GraphicConverter was to convert a .pict file into an .icns file. The .icns format is what Apple uses for its icon graphics. I like pasting special custom icons on most of my files. There are many free ones out on the Internet, but sometimes the picture I want on an icon is not in the correct format. GraphicConverter quickly takes the file I had and enabled me to save it in the .icns format. GraphicConverter can import over 200 different graphic file formats and export over 80 formats. Converting is a question of selecting the required target format in the Format pop-up menu. The default lists the most popular conversions for the file type you picked. If the format you want is not there, then go with Show All and open the pop-up menu again. Now all the export formats are visible. You may need to scroll down to reach the upper or lower entries as this list is very long.

     You might wonder what the difference is between gif, png or jpeg. Why does it matter how a graphic file is saved? Why would you wish to convert it? Gif images are great for creating very low resolution files. They support transparency, which allows you to place the gif over any colour background or even photos, and you won’t see a border or background in the image. All you will see is the icon. You typically use a gif for simple logos, icons, or symbols. Using a gif for photos is not recommended, because gifs are limited to 256 colours. Jpeg files can be relatively small in size, but they still look crisp and beautiful. Jpegs support up to 16.7 million colours, which makes them the right choice for complex images and photographs. With the wide range of colours, you can have beautiful imagery without a bulky file size. PNG files are lossless, which means that they do not lose quality during editing. This is unlike jpegs, which do lose quality. Because of this, PNG files tend to be larger than jpegs. This is only one reason why you might want to convert a file from one type to another.

     Another time I needed Graphic Converter I had a cool icon for my thumb drive, but it was not the right colour. Again, I quickly figured out how GraphicConverter could fill the icon with the colour that best represented that thumb drive. I then proceeded to copy/paste three other thumb drives with their appropriate colour. These are small insignificant ideas on how to use Graphic Converter but what I want to impress upon you is how easily I was able to make the changes. Another time, I wanted to edit a photo of myself, but I had captured some extra items in the screenshot. As these were not related, I wanted to cover them up. Using GraphicConverter, I quickly put a box around the extra bits and picked the fill colour. Presto, the unwanted stuff was no more. Scanned pictures often have slight marks caused by dust. You can see these faults easiest if you display the picture at a zoom level of 100% or more. I selected the Stamp function in the toolbox and, holding down the option key, I clicked on an area in my photo with the colour I wanted. I was quickly able to erase extra stuff, like dust marks or an electrical outlet, from a picture and professionally touch up the area.

     With GraphicConverter I was able to create my website logo and add text to it. By clicking the text tool from the toolbox and then clicking on the area in the picture I wanted to add the text, a rectangular text object that you can write in appeared. The size of the text object adapted itself to the text as I wrote so that I did not have to use the handles at the corners to stretch it out. If you want to get fancier, you can rotate text via the palette. If you click next to a text object, a new text object will be created. You can then edit the different text objects by clicking them.

     GraphicConverter converts pictures into other picture formats allowing you to use graphics files from other computer systems. Its most important functions are: 

– Converting the most frequent Atari, Amiga, UNIX, Organizer and IBM graphics formats to and from Macintosh formats 

– Image editing 

– Multiple batch conversion 

– Importing Pictures from your Digital Cameras 

– Browser for quick viewing of all pictures contained in a folder 

– Slide show 

– Automatic creation of Internet pages with picture indices for download 

– Picture processing 

– Removing red eyes 

– Simple text conversion 

– Printing pictures indices

     When you first start up GraphicConverter you get the following window. (opening Window) The single image choice lets you pick a new image, an image from the Clipboard or the opportunity to open an image stored somewhere on your computer. Create a new image opens an empty image window whose size you can specify. When a picture is open, GraphicConverter provides information and options in palettes that can be opened under the Window menu. You can hide and display the palettes with the Tab key. Images can also be retouched, edited, and transformed using tools, effects and filters. With the Browser tab, you can select a folder to work on. Access to metadata comments (such as XMP, Exif, and IPTC) lets you shift the EXIF timestamp and change the time and date from the EXIF information that your photos have. This makes sense if you forgot to change the time in the camera or if the clock battery was low while you were travelling. It even has GPS changing abilities. The choices with a red arrow are tutorials on how to utilize these functions. Presentation is for creating slide shows. Lastly, Support gives access to the user manual and some other tutorials.

     I could go on, but I am sure that you get the picture. As I said before, other applications have some of the functions of GraphicConverter. You can use Photos for red eye or slideshows. You can use Preview for very basic editing. Nevertheless, GraphicConverter does it all and more. Once you use it, I am confident that you will agree that GraphicConverter will be your one-stop graphic tool application. GraphicConverter is shareware. That allows you to test the product free of charge and without any obligations before you purchase it. Click here to download a trial copy of it. Priced at $56.95 CAD from the Lemkesoft Web site, GraphicConverter 12 is also available from the Mac App Store. I can’t imagine being without a copy of GraphicConverter and fortunately, Lemkesoft is keeping up with each new OS that Apple develops. It is one of those applications that you forget you have but you sure are glad it is there when a problem arises.